The black plastic box below is my "project box" for the Arduino Mega controller and other circuitry used to sense the state of the aquarium and control it. In my projects, I have tended to use relatively small project boxes.
💡Lesson Learned: The larger the project box, the easier it will be to trace wires and adjust connections. If you are just starting out I recommend using a bigger box where things aren't as cramped. Check out the neat wiring of my friend Dave's controller box.
As you can see in the photo above I cut holes in the box for external connectors (specifically D-subs) to be plugged in.
💡Lesson Learned: D-sub connectors are nice because they come in all sorts of sizes, and are highly available, but so are circular connectors such as the GX type found on Aliexpress. If you get these there is no need to Dremel like I have done below.
In order to cleanly cut the holes in plastic, I first laid out where I wanted the holes to be and marked off the corners with a simple template.
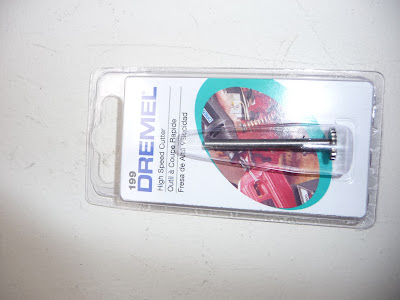
In order to make the rectangular cutouts using the holes as guides, I used the following Dremmel tip and carefully cut from hole to hole.
Once the holes were finished I started to secure the external connector sockets that were later used to connect up wiring to the controller.


